Ceiling Drapes Bedroom
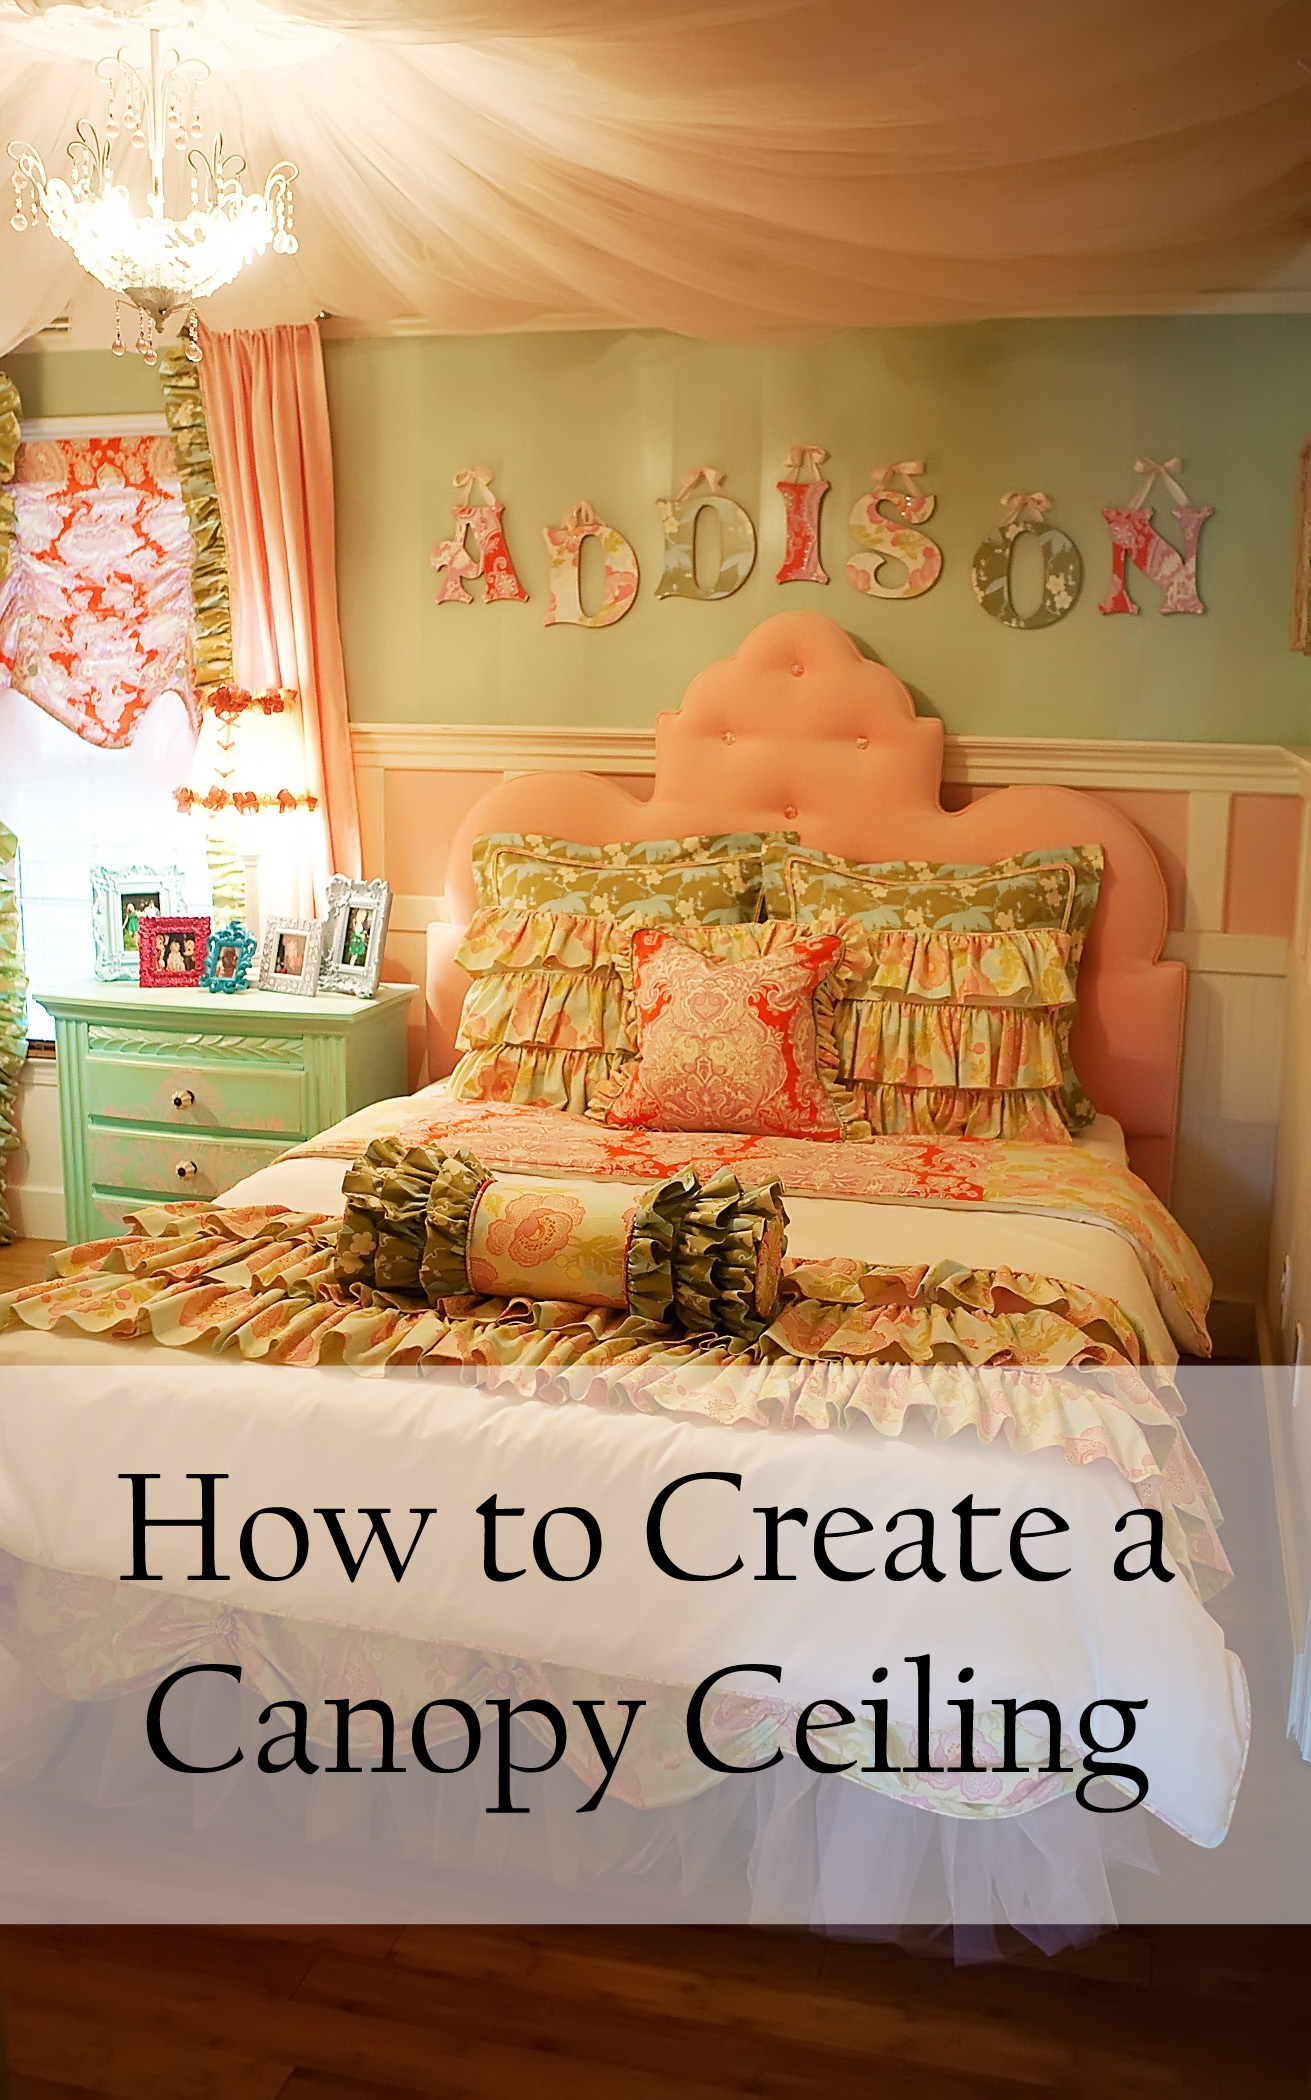
How to Create a Canopy Ceiling
The day has finally come. I have been e-mailed, Facebook messaged and Instagram stalked about this beautiful ceiling project for the last three years so today I am going to share the detailed "how-to" on this stunning ceiling canopy. First things first… I have been hounded with the same two questions every single time I post a picture of my daughter's room so let's get those Q & A out of the way.
- How do you dust the ceiling? I have absolutely no idea and if you figure it out, do share 🙂
- Is it a fire hazard? I use 100% nylon tulle which I will link to below and nylon is inherently non-flammable.
When I started Addison's Wonderland, my daughter Addison's room was my inspiration, my canvas and my design playground. Her room is probably my all-time favorite room design I've ever done. Maybe I'm a little biased since she was my first little Princess or maybe because her room launched my design business but nonetheless, this one will forever have my heart…
The main reason I have delayed this tutorial is because I would like to re-create this in my daughter Winter's room at our new home and I feel that a video tutorial would be best. However, that may be a little while so for now, here is a step-by-step picture tutorial…
Supply List
![Supplies1[1]](https://addisonswonderland.com/wp-content/uploads/2014/09/Supplies11.jpg)
40-Yd Bolts of Tulle- Available HERE (I used 4 bolts for a 12′ x 12′ room)
Scissors
Staple Gun
T-Square or Yard Stick
Chandelier Medallion
I absolutely LOVE the "Sweet Dreams" chandelier medallion I used in her room. Although this part of the project is completely optional, I think that using a medallion like this creates a more beautiful canopy effect and gives it some space from the lighting fixture.
Sweet Dreams Chandelier Medallion– Click to View/Purchase
![IMG_1531[1]](https://addisonswonderland.com/wp-content/uploads/2014/09/IMG_15311.jpg)
Step One
![Step One[1]](https://addisonswonderland.com/wp-content/uploads/2014/09/Step-One1.jpg)
Determine Spacing… My daughter's room was approximately 12′ x 12′ so I decided to space the sections 18″ apart along each wall. This created 9 sections on the first wall. One on each corner plus 7 "middle" sections. I would suggest lightly marking every 18″ along the ceiling.
Section- I use this term to refer to the gathered and stapled portion of tulle against each wall spaced apart approximately 18″.
Middle- I use this term to refer to the sections along each wall NOT in the corners.
Step Two
![Step Two[1]](https://addisonswonderland.com/wp-content/uploads/2014/09/Step-Two1.jpg)
Unravel the tulle from the bolt and gather the end as tightly as possible. It looks best if you gather from one end to the other creating a "fan". (Note: you are gathering the 54″ width of the tulle)
Step Three
![Step Three[1]](https://addisonswonderland.com/wp-content/uploads/2014/09/Step-Three11.jpg)
Place the gathered section against the ceiling in the first corner and staple it underneath the tulle. Essentially you want the tulle to wrap up over the staple to hide it.
Step Four
![Step Four[1]](https://addisonswonderland.com/wp-content/uploads/2014/09/Step-Four1.jpg)
Pull the tulle section you just stapled over to the chandelier medallion or lighting fixture letting it droop about 10-11″ from the ceiling. This creates the canopy effect.
Step Five
![Step Six[1]](https://addisonswonderland.com/wp-content/uploads/2014/09/Step-Six1.jpg)
Once you've positioned the tulle, create the same "fan" effect and staple against the ceiling medallion or lighting fixture. It is important to keep the "fan" consistent along the length of the section so that it doesn't get twisted.
Step Six
![Step Five[1]](https://addisonswonderland.com/wp-content/uploads/2014/09/Step-Five1.jpg)
Once you've stapled the other end of the section, cut the tulle leaving about 1-2″ hanging down. Leaving extra not only hides the staples, it also creates a beautiful "rose" effect along the medallion.
Step Seven
![Step Seven[1]](https://addisonswonderland.com/wp-content/uploads/2014/09/Step-Seven1.jpg)
Repeat Steps 2-6 along every pre-marked place on the ceiling. I found it best to work from the wall to the center and then the center to the wall so that I did not have to move my step stool as often. When you are working this way, simply staple the next section right against the previously stapled section on the medallion.
Step Eight
![Step Eight[1]](https://addisonswonderland.com/wp-content/uploads/2014/09/Step-Eight1.jpg)
Once you've completed every section, take a step back and note any sections that seem to be hanging too low or too high. Some sections may need to be re-done to create a consistent look. Also, you'll want to "fluff" all of the sections for more fullness.
Now, Enjoy!

XOXO, Brittany Hayes

Source: https://addisonswonderland.com/how-to-create-a-canopy-ceiling/
